This Queen's Domain Tower of Knowledge walkthrough covers a library tower that only opens once the three outdoor gargoyle beacons have rung, and it is the hardest area on the island. The Endless Pages achievement for reaching it is held by 44 percent of players, while only 34 percent have beaten the boss at the top. Book Bugs, Gargoyle Warriors, Pus Bags, Crawlers, Poltergeists and Manticores all live here, and several of them inflict status effects, so bring cures as well as herbs.
On this page
The tower route in eight steps
Light the three outdoor gargoyle beacons with the Azure Torch so the tower door opens.
Drop through the trap floor, take the Occult Knife in the basement and pull the lever to get back up.
Solve the balcony gargoyle puzzle and light only Gargoyle III and Gargoyle VII.
Climb the big staircase to the altar and take the Storm Gem.
Slip under the dead-end staircase to Budaen and take the Forbidden Archives Key.
Put one book on each of the six numbered library shelves to open the Rare Artifact Storage room.
Unlock the two golden doors, beat the Necronomicon and take the Acid Vial, then kill the flesh faces with the acid daggers.
Clear the flesh next to Budaen to open the passage out to Deimpo Mausoleum.
The Queen's Domain Tower of Knowledge walkthrough: getting in
Light the three gargoyle beacons outside with the Azure Torch, taken from the gargoyle statue at the Tower of Knowledge entrance, and the bell rings three times. The third beacon is on the way out of Obmuer Temple after Dagoom, so the temple comes first in the order.
A Skeletal Executioner fights you near the entrance. Past it, one room has a trap floor that gives way and drops you into the lower level, the so-called tower basement.
The Storm Gem guide has the upgrade you need inside it.
The basement and the Occult Knife
In the basement you pick up the Occult Knife, a homing throwing weapon, and a lever that sends you back up. Keep the Occult Knife, because it becomes useful again at the end of the tower when the flesh faces are still standing.
Two side rooms sit near the entrance. The secret door in front of the tower opens when you feed fire to the open-mouthed gargoyles above it, and the Azure Torch's alternate attack lobs blue fireballs high enough to reach them. Right after the trap floor, go up the stairs, turn around and jump to the ledge above; a hidden wall there leads to a small room with Pus Bags and the skeleton called Bones of Archivist Inha, which is also where one of the library books is.
The balcony gargoyle puzzle
On the balcony next to a save point is a row of numbered gargoyle statues with three stone plaques carrying the clues. One plaque is half buried under rubble, so look along the floor if you have only found two.
- Gargoyle's Hint I says Gargoyle II has one neighbour who will take fire and one who will not, so exactly one of I and III is lit.
- Hint II says a pair of gargoyles will take fire and open the way, and that Gargoyle III is not like those to each of his sides, so only two statues are lit and III differs from both II and IV.
- Hint III says giving fire to one who does not wish it invites trouble, and that Gargoyle V and both of his neighbours agree about fire, so IV, V and VI match and with only two lit all three stay dark.
Put together, IV is dark, so III must be lit to be different from it. That makes I dark and II dark as well, and the only statue left for the second flame is VII. Light Gargoyle III and Gargoyle VII with the Azure Torch and the door into the tower interior unlocks. Lighting a wrong one makes the statue attack while a swarm of Book Bugs spawns, and the balcony has 30 to 40 enemies next to a save point, so it doubles as a coin and herb farm.
The puzzle guide has the other switch puzzles.
The upper floors and the Storm Gem
The Wind Rapier is behind a lever-locked door, and a second lever opens a stair shortcut. Turn right after it for the Staircase Crystal Monument and the tower's Wing Altar, the fast travel point for the area. Knowledge Keeper Wourha's study is right next to the Wing Altar. She recognises you as the prince of the Abraon family and complains about a foolish knight she trusted with the key to the Forbidden Archives. She also runs the bestiary questline A Lifetime's Work, which needs a 100 percent bestiary and is finished by only about 3 percent of players. The Docile Gargoyle outside near the Wing Altar drops the Distinguished Monocle if you hit it until it fights.
Climb the big staircase near Wourha's study to the altar with the Storm Gem. Picking it up unlocks the Raging Tempest achievement, and it pops on pickup with no fight required.
The Forbidden Archives Key
The route to Budaen runs underneath the staircase that seems to dead-end. The steps are listed in full in the Forbidden Archives Key guide.
The library shelves
Six numbered shelves in the library take one book each, and the Rare Artifact Storage room stays shut until all six are in place. Every book and every location is listed in the guide to every book in the game.
The Necronomicon
Go back to the Storm Gem altar and open the two large golden doors with the Forbidden Archives Key. The route up to the boss is a long gauntlet and the Manticores are the main problem, so kill everything on the way up. Then go back to the last Crystal Monument and save without resting, so the enemies stay dead, since they take a long stretch of play to respawn. There is no fog wall at the boss, so anything you skip can follow you into the arena.
Beating the Necronomicon unlocks Hell Transcribed and gives the Acid Vial, which coats your basic throwing daggers automatically, and the Golden Duck Figurine that adds stock at Umbada. The tactics for the fight itself are in the boss guide.
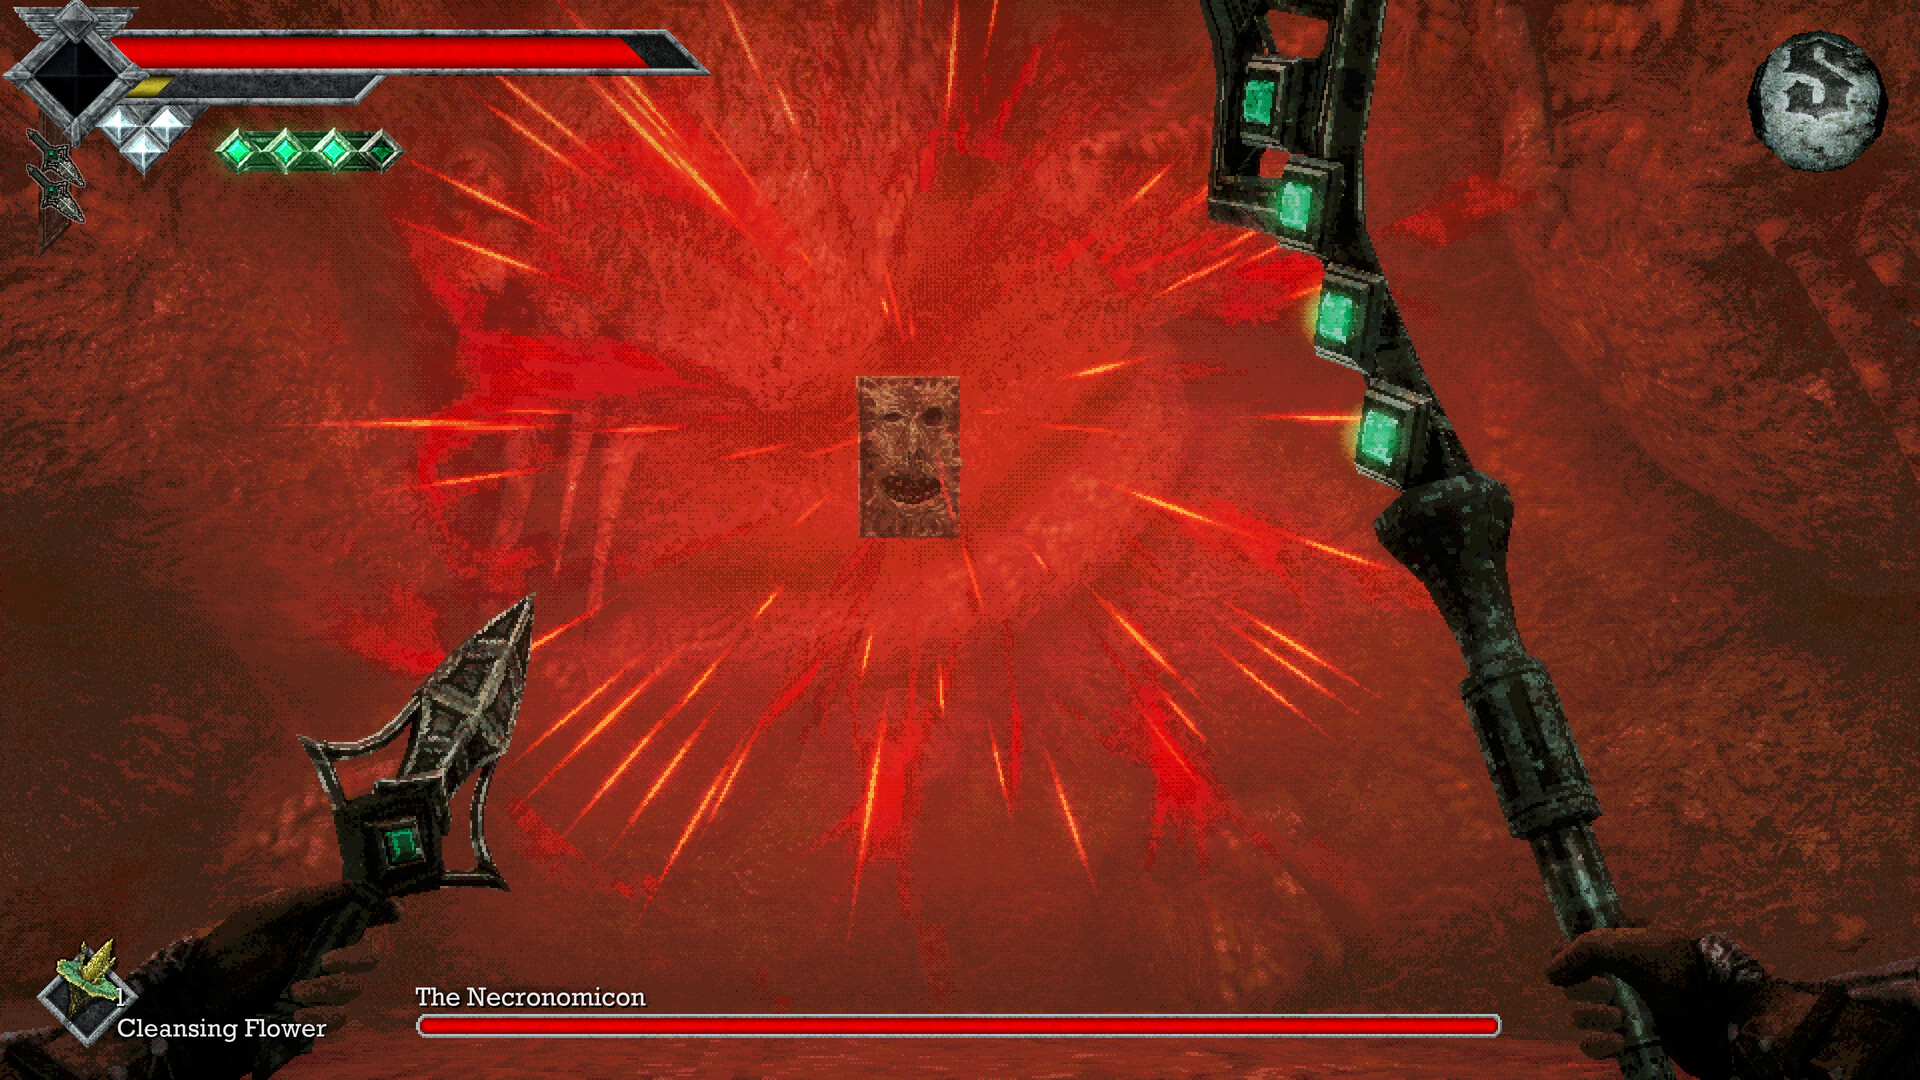
The Necronomicon, with its own health bar at the top of the screen.
Clearing the flesh walls
The faces set into the flesh growths around the tower can only be killed with acid daggers, and each patch of flesh has one or more faces. When all of a patch's faces are dead the flesh melts, and the faces moan when you are close, so listen for them. If one is missing, switch to the Occult Knife, which homes in on living faces even though it cannot kill them. Three faces are known: one inside the book puzzle library, one at the end of a dead end hallway, and one above the first entrance into the flesh, on the right. Clearing every patch in the tower including the basement earns Sparkling Clean, and the basement patches also open the way to a red treasure vault and down into the Forgotten Dungeon.
Getting out to the Mausoleum
Return to Budaen's room and clear the flesh next to him in the hallway with the six-book vault. The passage leads out of the tower to Deimpo Mausoleum and unlocks Unsealed Tomb. Inside the mausoleum you ride moving stone pillars, pick up Puwema's Lens and the Mask of Second Sight, and clear six green sigils to open the Poenir and Duenir boss door.
The Petrified Garden seals guide has the seals you need later.
One area to leave alone
The Forgotten Dungeon under the basement is reachable from the tower, but going there first makes the game much harder, and a bestiary filling up with entries out of order is a sign that you are in the wrong place for your level.